
[2018_Codegate_CTF] Welcome to droid (125)
Updated:
Exercise
> o < !
Download
[그림] exercise
Solution
풀이자가 많아서, 시간 날때 봤던 문제.. 하지만 Smail code 때매 제대로 code 보질 못했는데, 나중에 다른 도구 써보니 잘되서 빡친 문제..
zip 파일을 다운 받을 수 있으며, 압축 해제 시 APK 파일을 하나 확인할 수 있다.
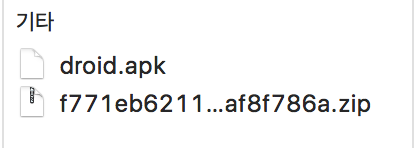
[그림] apk binary
ADB에 올려, 먼저 설치를 진행한다. 팀원들이 설치가 제대로 되지 않는다고 했었는데, 별다른 에러 없이 설치가 진행된 것을 확인할 수 있었다.

[그림] apk install
설치된 apk를 실행시켜 보면, 아래와 같은 id input 항목과 next 버튼을 확인할 수 있다.
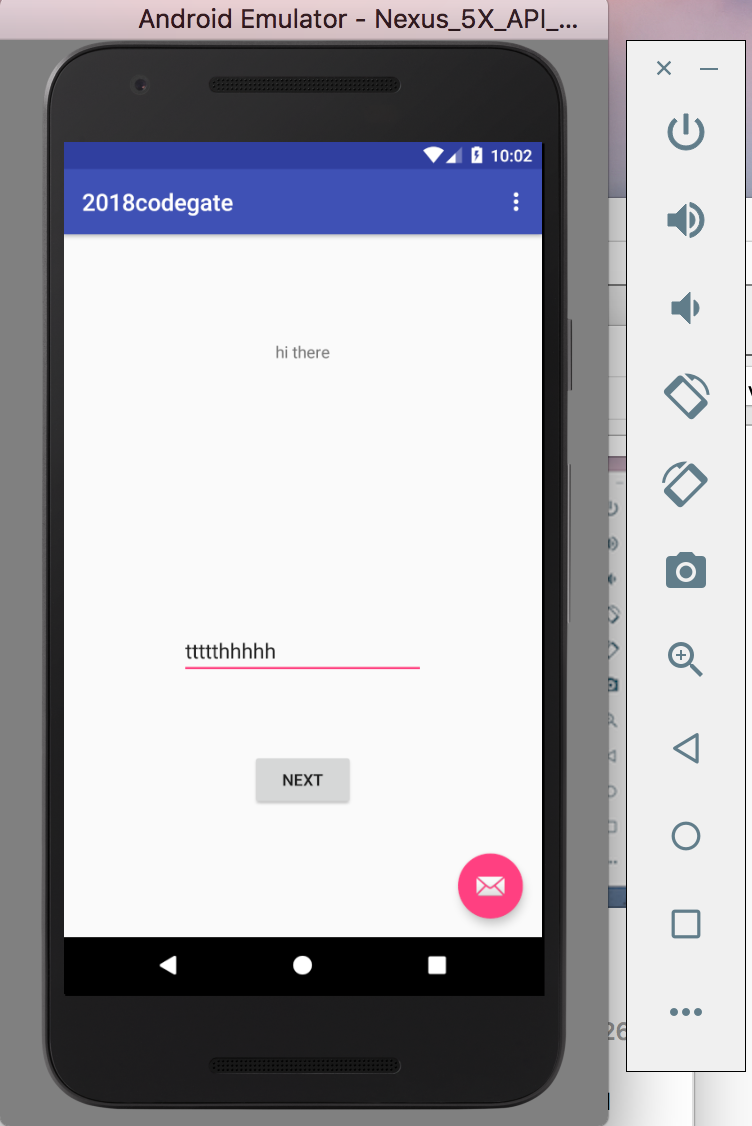
[그림] apk execute (MainActivity)
아무 값으로 id 항목을 입력하고, next 버튼을 누를 경우 아래와 같이 pw 입력 레이아웃(Main2Activity)으로 전환되는 것을 확인할 수 있으며, password 를 아무값으로 입력하고 next를 눌러 popup되는 문구를 확인할 수 있었다.
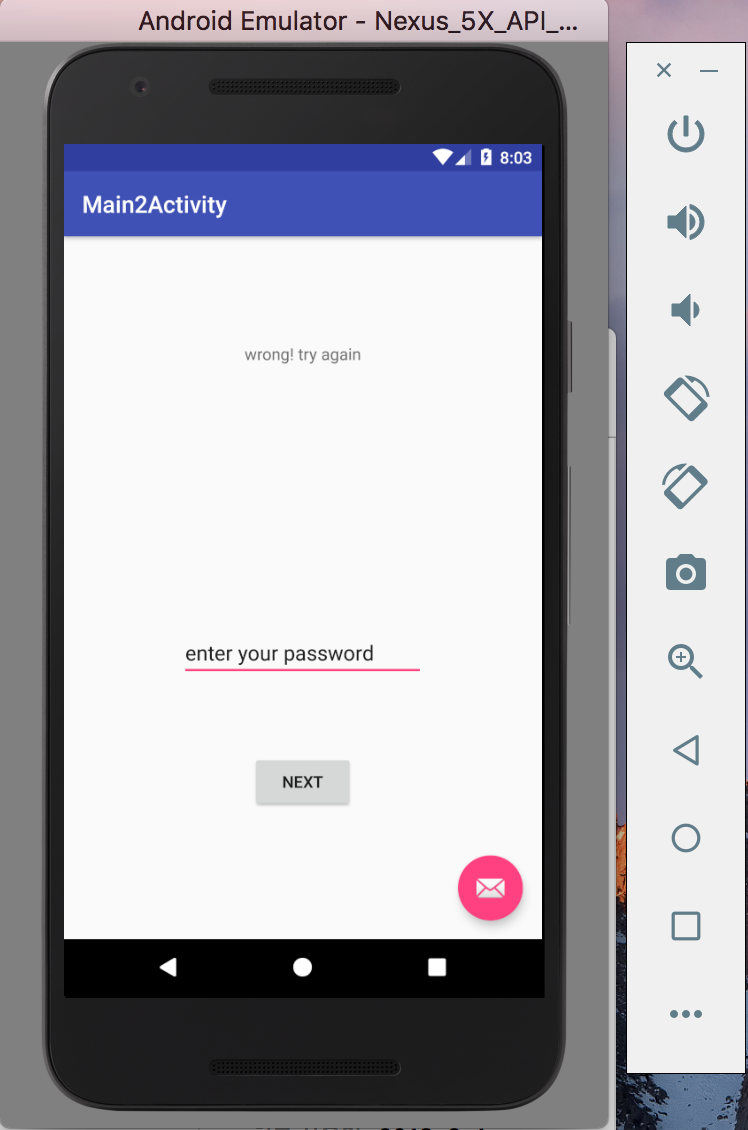
[그림] apk execute (Main2Activity)
주어진 조건을 충족시켜 줘야하는 문제인지, 다른 방식으로 접근해야하는 문제인지 확인해볼 필요가 있다. 이를 위해서, APK를 decompile 할 필요가 있는데 평소에 본인은 BytecodeViewer를 사용하거나, apktool + BytecodeViewer 조합으로 APK 분석을 자주하는 편이라 이번에도 동일하게 진행했다.
BytecodeViewer로만 해당 apk를 열 경우, 정상적으로 로드되지 않는다. (Null Point Exception error)
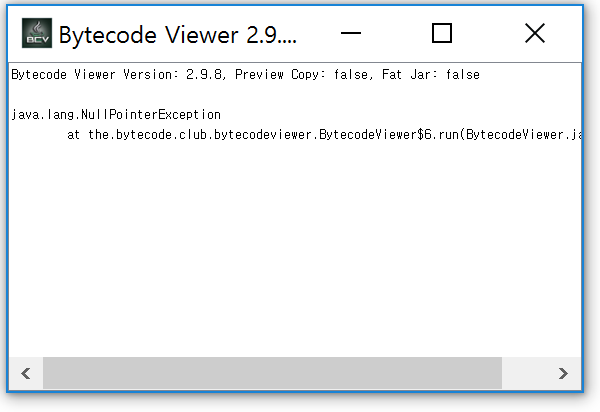
[그림] BytecodeViewer Error
따라서, apktool을 이용해 decompile을 먼저 진행하고, BytecodeViewer를 이용해 apk 구성요소들을 살펴보았다. 아래와 같이 smali 가 그대로 적용된 것을 확인할 수 있었는데, 대회 당시에 늦게 참여하고 여러 일정 소화하고 온터라 피곤한 상태에서 성의껏 보지 않은 점이 패인이다…(변명ㅋ)
jsh05042@Macs-MacBook-Pro ~/Desktop/CTF/2018_Codegate_CTF/문제백업/[Rev]Welcome to droid apktool d ./droid.apk I: Using Apktool 2.3.1 on droid.apk I: Loading resource table... I: Decoding AndroidManifest.xml with resources... S: WARNING: Could not write to (/Users/Mac/Library/apktool/framework), using /var/folders/t_/3_spx9kn2j1072knxbnnwlvm0000gn/T/ instead... S: Please be aware this is a volatile directory and frameworks could go missing, please utilize --frame-path if the default storage directory is unavailable I: Loading resource table from file: /var/folders/t_/3_spx9kn2j1072knxbnnwlvm0000gn/T/1.apk I: Regular manifest package... I: Decoding file-resources... I: Decoding values */* XMLs... I: Baksmaling classes.dex... I: Copying assets and libs... I: Copying unknown files... I: Copying original files...

[그림] decompile_smali
이게, apktool 로 decompile 했을 땐 smali가 덕지덕지 붙어나와서 영 보기 불편했는데 jadx-gui를 이용해서 해당 apk를 열었을 땐, 아래와 같이 깔끔하게 Code를 볼 수 있었다..
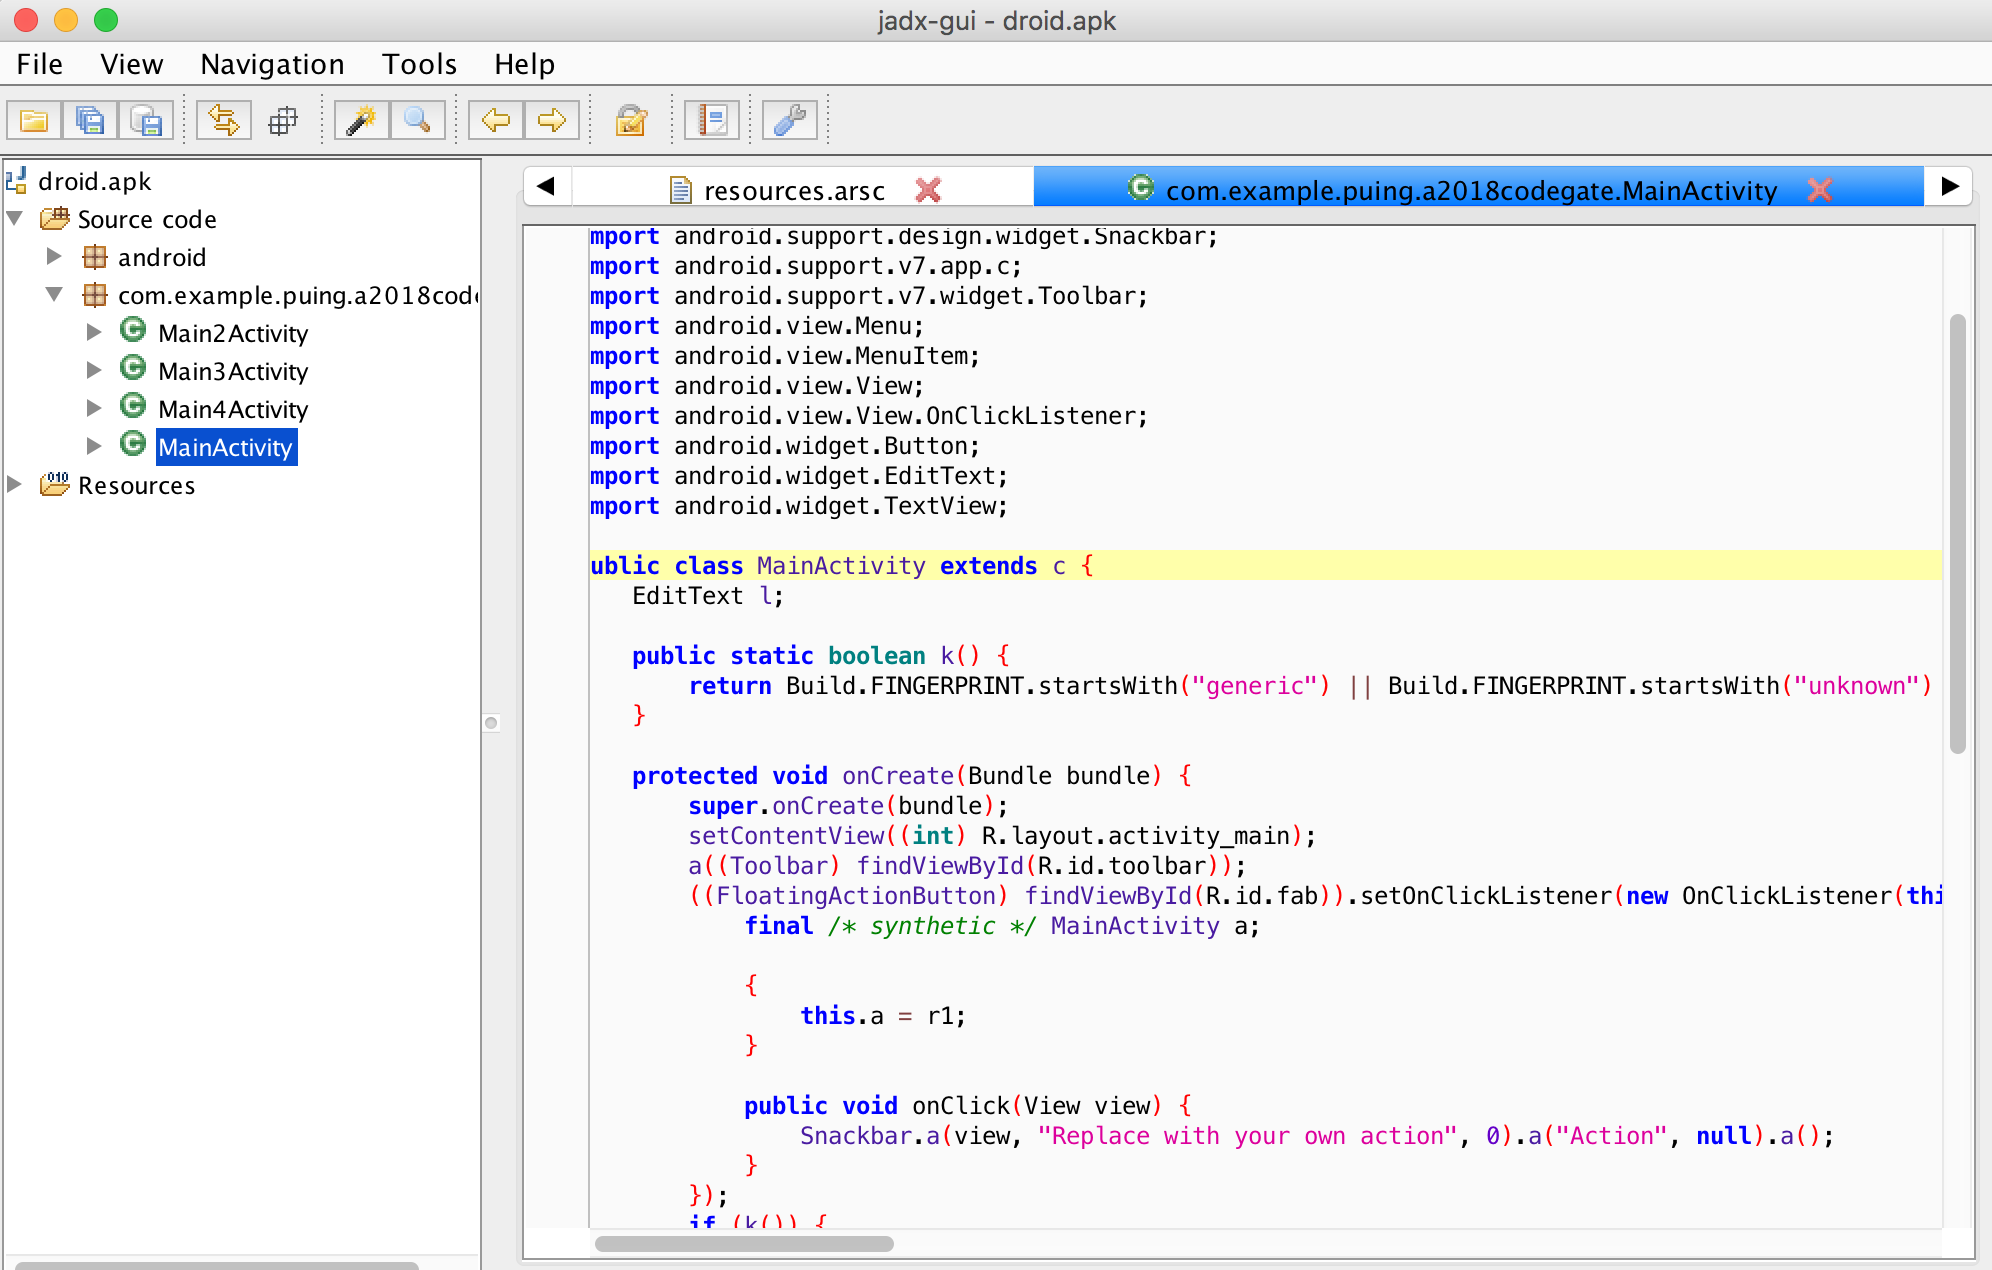
[그림] decompile jadx
Code 흐름을 살펴보자, 아래는 MainActivity code 이다. id input 값의 길이를 체크하고, Main2Activity를 호출하는 것을 확인할 수 있다.
this.l.setText("enter your id");
        ((Button) findViewById(R.id.button2)).setOnClickListener(new OnClickListener(this) {
            final /* synthetic */ MainActivity a;

            {
                this.a = r1;
            }

            public void onClick(View view) {
                String obj = this.a.l.getText().toString();
                int length = this.a.l.length();
                if (length >= 10 && length <= 26) {
                    Intent intent = new Intent(view.getContext(), Main2Activity.class);
                    intent.putExtra("edittext", obj);
                    this.a.startActivity(intent);
                }
            }
        });
Main2Activity로 가보면, 아래와 같이 password 에 대한 value check을 통해서 Main3Activity를 호출하는 것을 확인할 수 있다.
this.l.setText("enter your password");
        final String stringExtra = getIntent().getStringExtra("edittext");
        ((Button) findViewById(R.id.button2)).setOnClickListener(new OnClickListener(this) {
            final /* synthetic */ Main2Activity b;

            public void onClick(View view) {
                String obj = this.b.l.getText().toString();
                String str = "";
                if (Main2Activity.a(stringExtra).equals(obj)) {
                    Intent intent = new Intent(view.getContext(), Main3Activity.class);
                    intent.putExtra("id", stringExtra);
                    intent.putExtra("pass", obj);
                    this.b.startActivity(intent);
                    return;
                }
                ((TextView) this.b.findViewById(R.id.sample_text)).setText("wrong! try again");
            }
        });
Main3Activity로 가보면, 아래와 같이 serial key에 대한 value check을 통해서 Main4Activity를 호출하는 것을 확인할 수 있다. k method로부터 생성되는 문자열과 비교를 하는 과정이 포함되어 있는데, radom string이 generate 되는 것을 확인할 수 있다.
public class Main3Activity extends c {
    EditText l;

    public String k() {
        char[] cArr = new char[]{'a', 'b', 'c', 'd', 'e', 'f', 'g', 'h', 'i', 'j', 'k', 'l', 'm', 'n', 'o', 'p', 'q', 'r', 's', 't', 'u', 'v', 'w', 'x', 'y', 'z', '0', '1', '2', '3', '4', '5', '6', '7', '8', '9'};
        StringBuffer stringBuffer = new StringBuffer();
        Random random = new Random();
        for (int i = 0; i < 20; i++) {
            stringBuffer.append(cArr[random.nextInt(cArr.length)]);
        }
        return stringBuffer.toString();
    }

    protected void onCreate(Bundle bundle) {
        super.onCreate(bundle);
        setContentView((int) R.layout.activity_main3);
        a((Toolbar) findViewById(R.id.toolbar));
        ((FloatingActionButton) findViewById(R.id.fab)).setOnClickListener(new OnClickListener(this) {
            final /* synthetic */ Main3Activity a;

            {
                this.a = r1;
            }

            public void onClick(View view) {
                Snackbar.a(view, "Replace with your own action", 0).a("Action", null).a();
            }
        });
        if (MainActivity.k()) {
            ((TextView) findViewById(R.id.sample_text)).setText("hi there");
        } else {
            TextView textView = (TextView) findViewById(R.id.sample_text);
            finishAffinity();
        }
        this.l = (EditText) findViewById(R.id.editText);
        this.l.setText("type serial key");
        ((Button) findViewById(R.id.button2)).setOnClickListener(new OnClickListener(this) {
            final /* synthetic */ Main3Activity a;

            {
                this.a = r1;
            }

            public void onClick(View view) {
                if (this.a.k().equals(this.a.l.getText().toString())) {
                    this.a.startActivity(new Intent(view.getContext(), Main4Activity.class));
                    return;
                }
                ((TextView) this.a.findViewById(R.id.sample_text)).setText("wrong! try again");
            }
        });
    }
}
아래는 Main4Activity Code이다. 결과적으로 Main3Activity 까지 입력한 ID, PW, Serial key가 check에 부합되는 경우 Main4Activity를 호출하는 구조인데, 자세히 보면, this.l.setText(stringFromJNI());에서 JNI()를 통해 호출한 값을 setText 를 통해서 뿌려주는 것을 확인할 수 있다.
public class Main4Activity extends c {
    EditText l;

    protected void onCreate(Bundle bundle) {
        super.onCreate(bundle);
        setContentView((int) R.layout.activity_main4);
        a((Toolbar) findViewById(R.id.toolbar));
        ((FloatingActionButton) findViewById(R.id.fab)).setOnClickListener(new OnClickListener(this) {
            final /* synthetic */ Main4Activity a;

            {
                this.a = r1;
            }

            public void onClick(View view) {
                Snackbar.a(view, "Replace with your own action", 0).a("Action", null).a();
            }
        });
        System.loadLibrary("native-lib");
        this.l = (EditText) findViewById(R.id.editText);
        this.l.setText(stringFromJNI());
    }

    public native String stringFromJNI();
}
JNI가 나와서 lib 경로를 확인해보니, 아래와 같이 so 파일을 lib내에 포함하고 있는 것을 확인할 수 있었다.
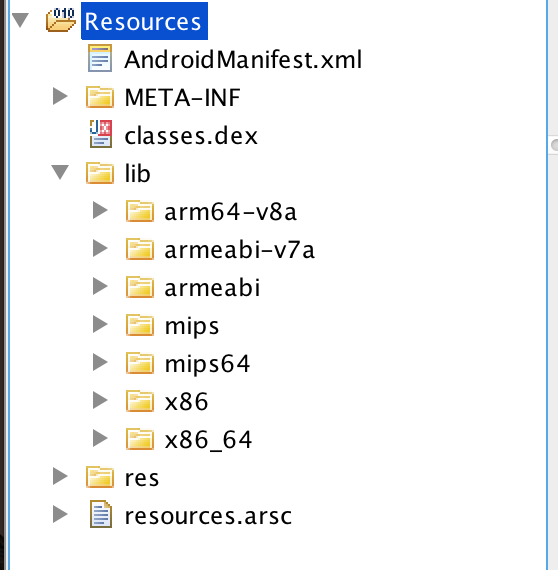
[그림] lib directory
별다른 연산 작업은 보이지 않고 stringFromJNI()를 통해 JNI()로 부터 값을 뿌려주고 있으므로 Main4Activity가 실행만 된다면, 해당 내용이 settext 되어 확인할 수 있을 것이다. 뿌려지는 값은 아마, flag가 되지 않을까 생각이 되었다.
Main4Activity class 를 먼저 띄워 JNI()로부터 호출되는 Text를 확인하기 위해서, 아래와 같이 MainActivity로 잡혀있는 Entrypoint를 Main4Activity로 변경하도록 한다.
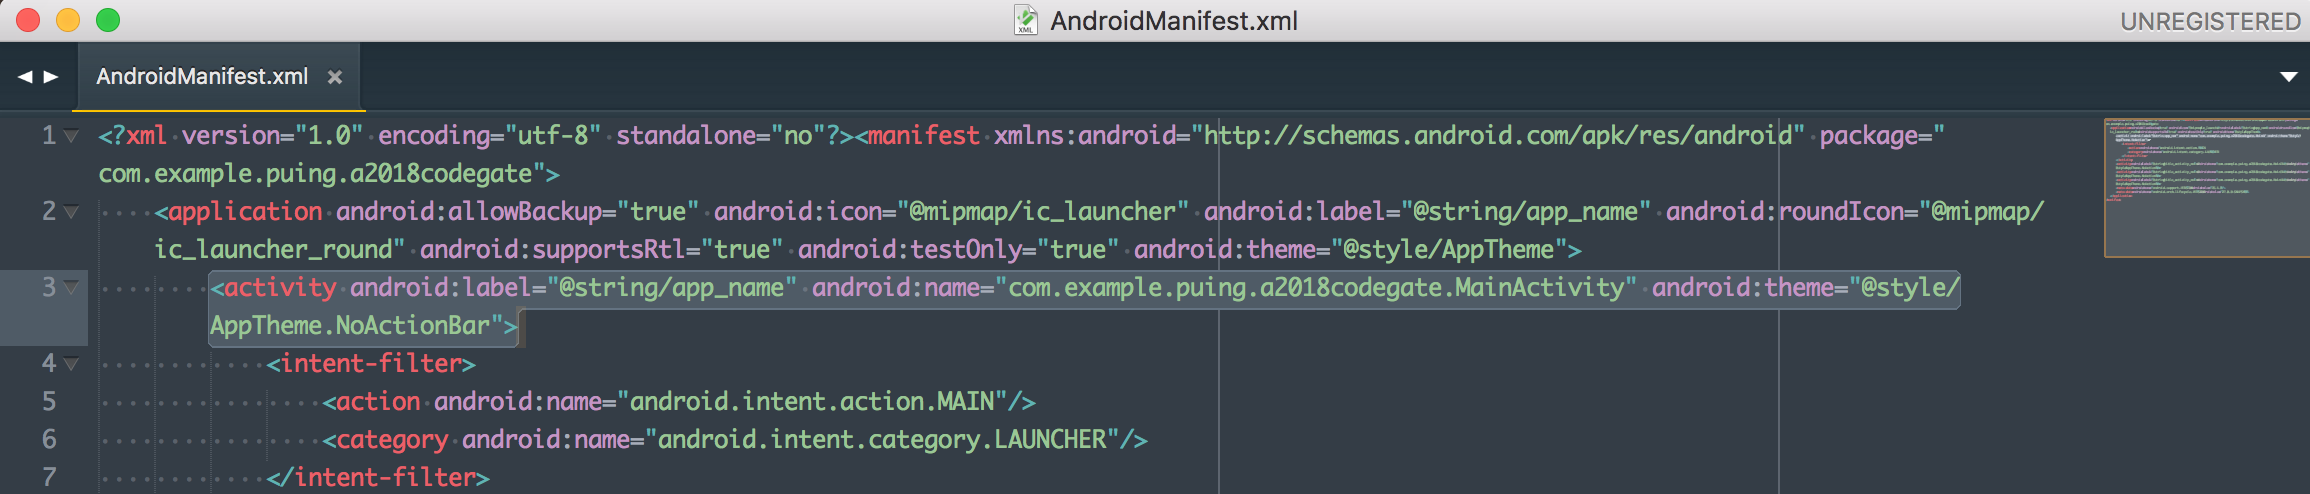
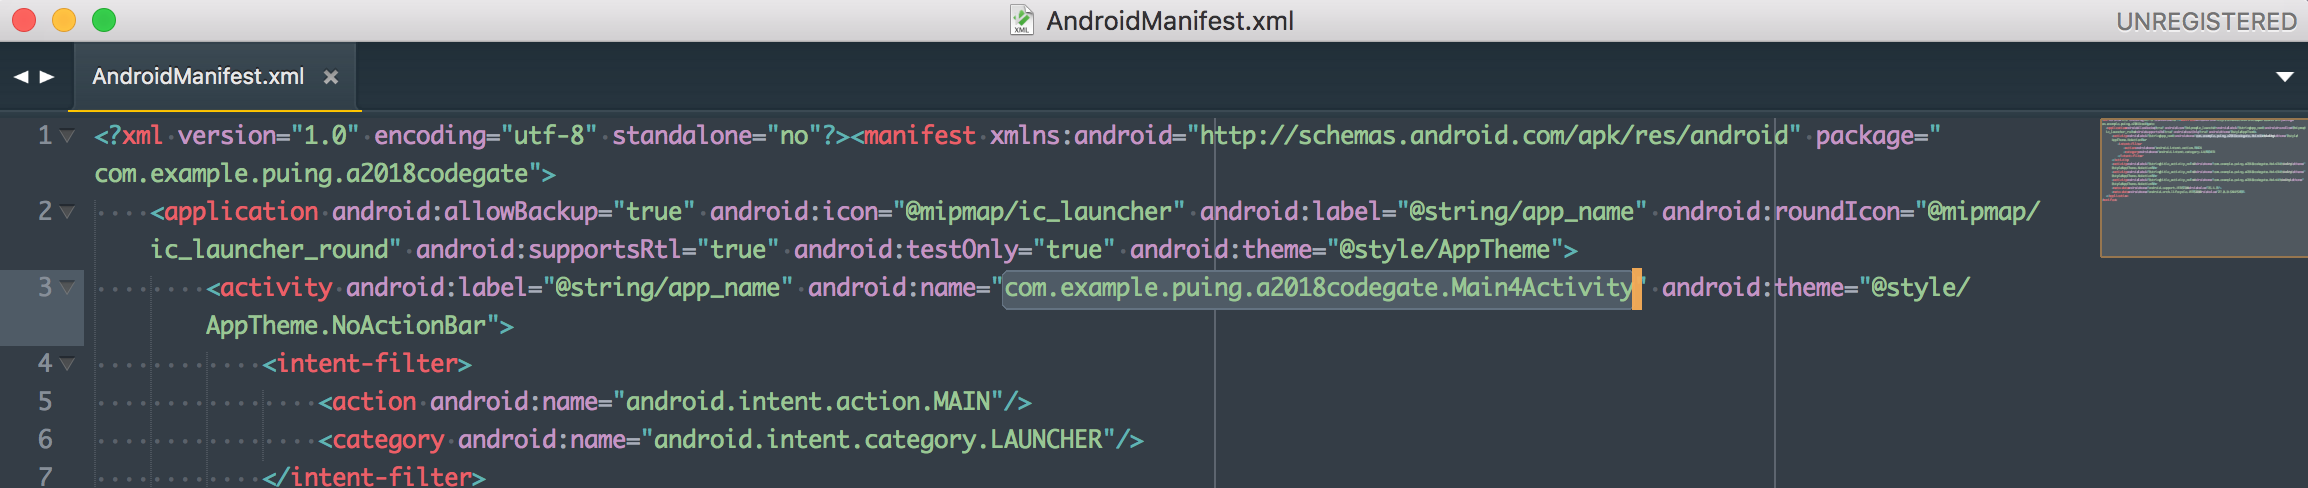
[그림] fix AndroidManifest.xml
XML 수정을 한 뒤에는, apktool을 이용해 수정된 apk를 재빌드 한다.
jsh05042@Macs-MacBook-Pro ~/Desktop/CTF/2018_Codegate_CTF/문제백업/[Rev]Welcome to droid
apktool b droid/
I: Using Apktool 2.3.1
I: Checking whether sources has changed...
I: Smaling smali folder into classes.dex...
I: Checking whether resources has changed...
I: Building resources...
S: WARNING: Could not write to (/Users/Mac/Library/apktool/framework), using /var/folders/t_/3_spx9kn2j1072knxbnnwlvm0000gn/T/ instead...
S: Please be aware this is a volatile directory and frameworks could go missing, please utilize --frame-path if the default storage directory is unavailable
I: Copying libs... (/lib)
I: Building apk file...
I: Copying unknown files/dir...
정상적으로 빌드되었다면, apk에 서명을 위해 필요한 파일이 있다는 가정하에 아래 sign.jar을 이용해 빌드된 apk 에 서명을 수행한다. (https://github.com/appium/sign 에서 sign.jar을 받을 수 있다. )
jsh05042@Macs-MacBook-Pro ~/Desktop/CTF/2018_Codegate_CTF/문제백업/[Rev]Welcome to droid
java -jar ~/Desktop/lib_temp/sign.jar ./droid/dist/droid.apk
jsh05042@Macs-MacBook-Pro ~/Desktop/CTF/2018_Codegate_CTF/문제백업/[Rev]Welcome to droid
ls ./droid/dist/
droid.apk droid.s.apk
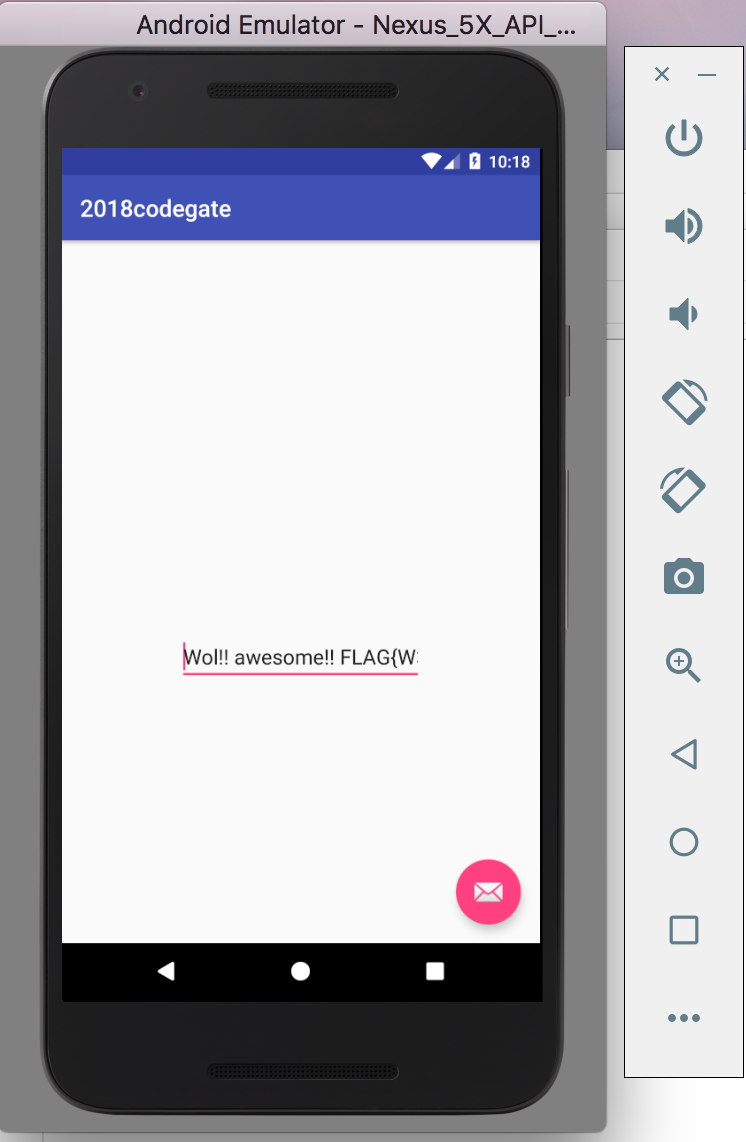
본래 앱을 삭제하고, re-build 된 apk를 재설치 한 뒤, 실행해보면 아래와 같이 JNI()로부터 settext 된 flag 문자열을 확인할 수 있다.
[그림] Main4Activity - flag
Wol!! awesome!! FLAG{W3w3r3_Back_70$3v3n7een!!!} hahahah!!
FLAG{W3_w3r3_Back_70_$3v3n7een!!!}
Leave a comment